|
Animated briefings - the creation (1)
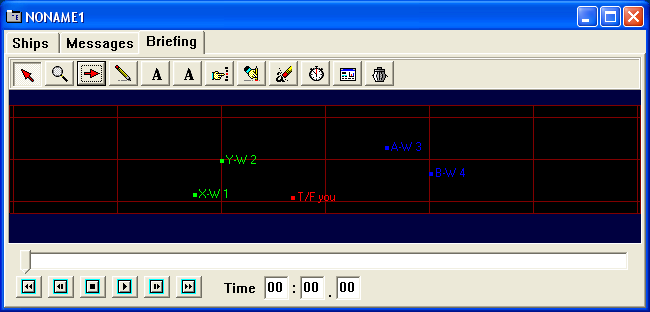
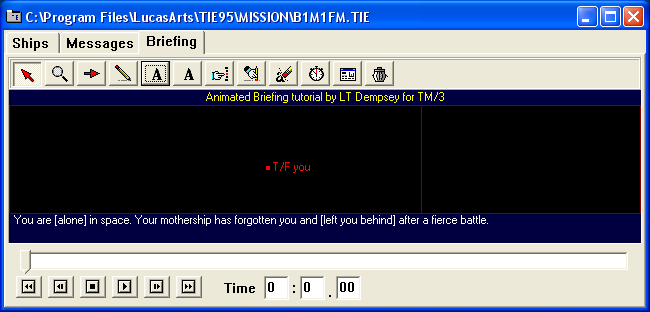
First off, I close the briefing map, we don't need that anymore. After all, we already placed our flight groups where we want them. Instead, open the briefing editor. You can access that by clicking the briefing tab on the mission window. You will see something like this:
This editor has several buttons above the map, and we will be using them. From left to right, we see:
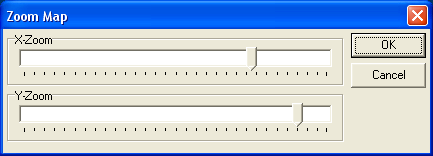
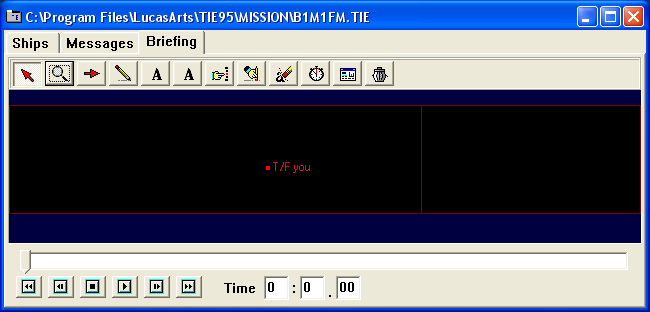
Note that it is not possible to undo the "clear briefing" (hence the confirmation dialog). It is also confusing that TFW speaks of "Flight Group Tags" instead of "boxes", since it also uses the term "Tags" for the text on the map. Another confusing bit is that the buttons for Change Title Text and Change Caption Text are the same. First of all, let's zoom in, so that our TIE Fighter will be the center of attention when the briefing begins. Hit the Zoom Map button. You then get a window with two sliders: one for horizontal zoom (X) and one for vertical (Y).
It could happen your TIE Fighter is no longer visible, so we should move the map too by clicking on the Move Map button. This opens a window with again two sliders: one for horizontal and one for vertical. Let's get our TIE Fighter nice and centered. If you find it hard to get accurate placement with the sliders, it is good to know that you can be a lot more precise by clicking once on a slider, and then moving it with your arrow keys.
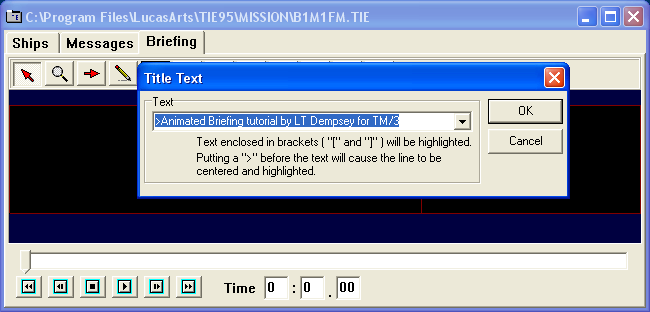
Now, we will want to have a title text and a caption text. So we click on the Change Title Text button. Under Text, we select the text we made up to be the title of our briefing. The title text will then appear, centered and yellow.
Next we add the caption text by selecting the Change Caption Text button. Our caption text appears (the highlights will show wih brackets, and not in green. A error on the author's part, since for title, the > character is interpreted...).
Now we want to set focus on our TIE Fighter, and display the name. First the box, and then the text. However, I don't want the box to begin immediately, but I want it with a short delay. You can move through the briefing with the time control buttons at the bottom. From left to right, the buttons:
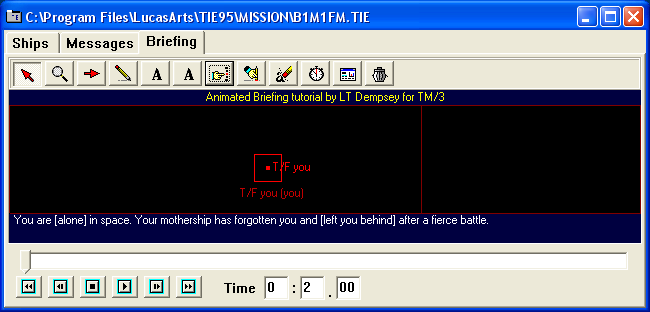
Note that you can also move through the briefing using the slider. I set the time at about 2 seconds, and hit the Add Flight Group Tag button. I can now select which flight group I want to show (Imperial TIE Fighter you), and in which of the 8 available slots I want to place the tag. Remember that you only have 8 slots available. After clicking OK, the briefing editor shows a nice box around my TIE Fighter. Next is the text tag. I always make my text tags appear 2 seconds after the box. The box after all, needs a little time, and I like the text to start scrolling about when the box is done. Simply click the Add Text on Map button, click anywhere on the map, and you get a new window, similar to before. Select your text tag, and the slot to use. Here, too, you have 8 available slots. New on this window compared to the other, is that you can pick which color is to be used for your text tag. I usually stick with the same color as the flight group's IFF code. So red it is. If the text is misplaced (and it probably is), activate the Selector button, and move the text tag around. My map now looks like this:
|
